How To Use A Shaving Brush – Lathering Up Routine
We have already run through some of the benefits of a shaving brush in the guide — How to Choose a Shaving Brush and Types, and now we can take a look at How to Use a Shaving Brush.
I could have stuck to a quick guide on lathering from a shaving bowl. However, that would be incomplete, and we need to consider various options!
Bowl or Face Lather – Soap or Shaving Cream?
How we use a shaving brush differs and depends on whether we lather directly from the brush to the face or bowl lather and whether we use a traditional solid shaving soap or cream.

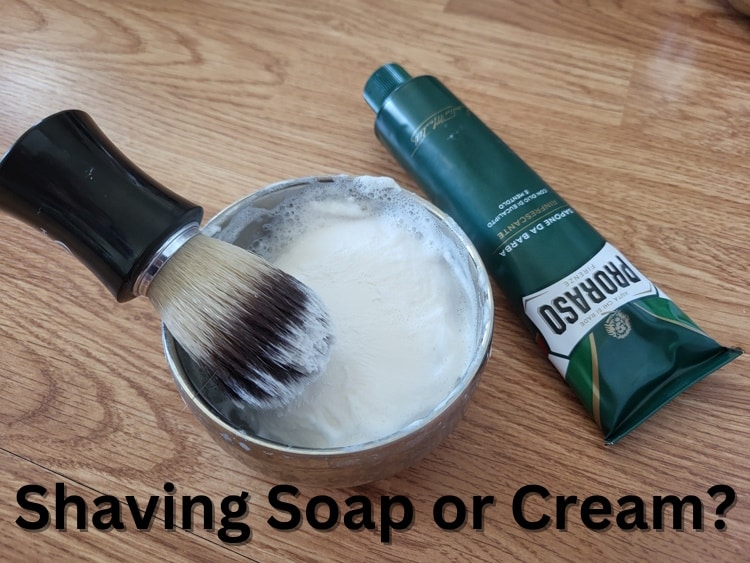
There is no right way or wrong way, and nobody has to use a bowl. It is mostly about what you find suits you best.
Bowl lathering tends to be a good option when using soap. A much thicker soap gets loaded on the brush directly from the soap and requires additional water.
Shaving cream, on the other hand, is not as solid as soap and will lather up on the face pretty fast.
I have found different soaps and creams lather differently, and while some are best suited when whipped up in a shaving bowl, many are fine when going straight from the brush to the face.
As mentioned, there is no right to wrong way, only a way that works for you best. Test the options!
Using a Shaving Brush Step by Step
Shaving with a Brush can be pretty different if you aren’t used to it. It looks easy and really is when you think about it, but it isn’t that intuitive right off the bat.
Step 1) Wash Your Face!
Okay, if you have been following previous articles, you always know this is step one. Make sure your face is nice and clean before doing anything. Use warm water to open your pores and activate any antibacterial properties of your soap while removing unwanted excess skin oils (the lathering will exfoliate though).
Step 2) Wet/Dampen Your Brush
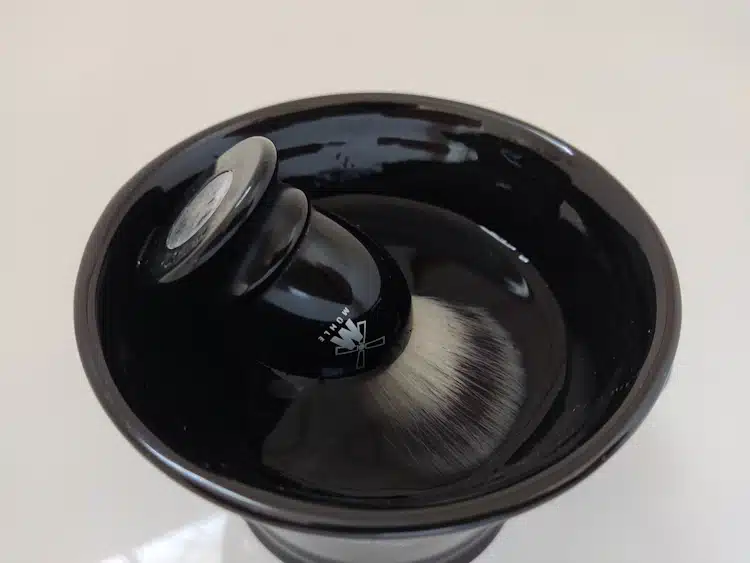
You can hold the bristles of your brush under running water to get them nice and wet –but most of us sit the brush in a bowl or sink to allow water to seep into the bristles (less time with synthetic brustles as they do not absorb much). Use warm water, but not hot water, as hot water may damage what is keeping the brush knot tight. Give it a few shakes to shake off the excess of water. You want it damp and holding some water but not sopping wet.
Step 3) Loading The Brush or Face
Now, we have the option to face lather or bowl lather and use either traditional shaving soap or cream. So, we need a little more detail here.
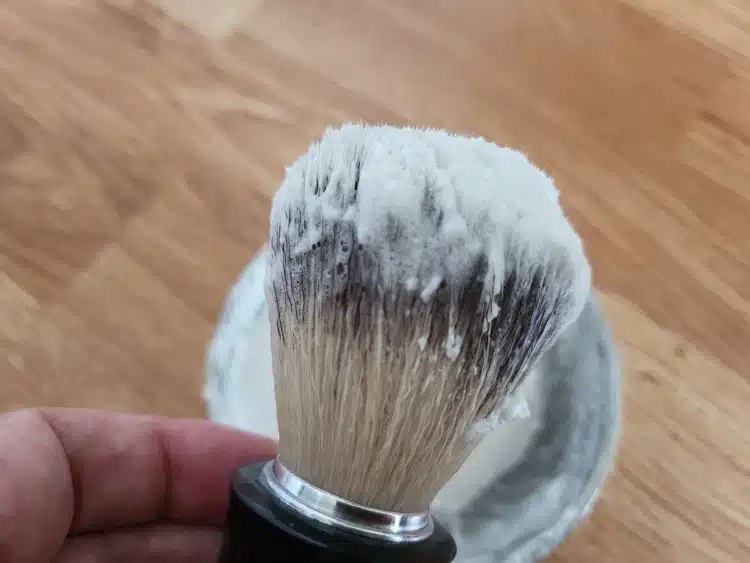
If you are using a shaving puck or shaving soap, give the puck a few good drops of warm water to get it activated and hydrated. Gently run the brush over the top of your soap and get a decent amount on the tip of the brush. You don’t need to get it too soapy, just a good amount on the tip of it. If you are face lathering with soap, you will need to load the brush more and grab a few more swirls.
If you are using shaving cream then you can either add a generous dollop of shaving cream in the shaving bowl for bowl lathering or add a few spots on the face in various places for face lathering.
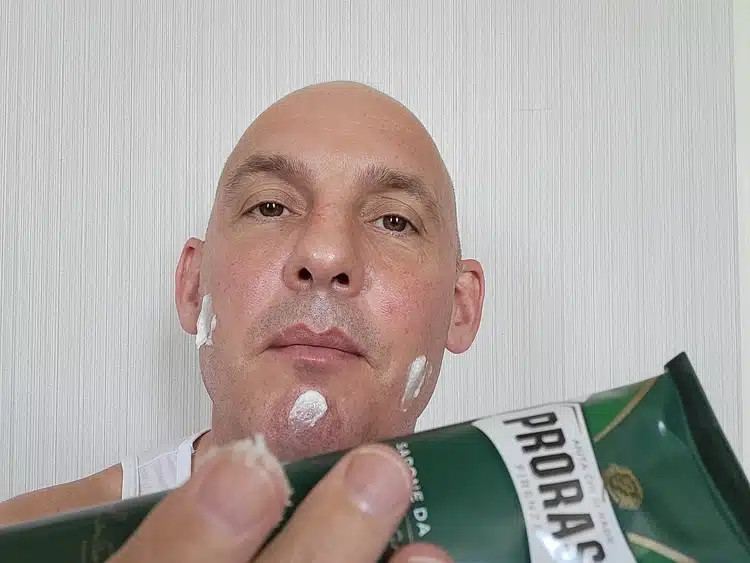
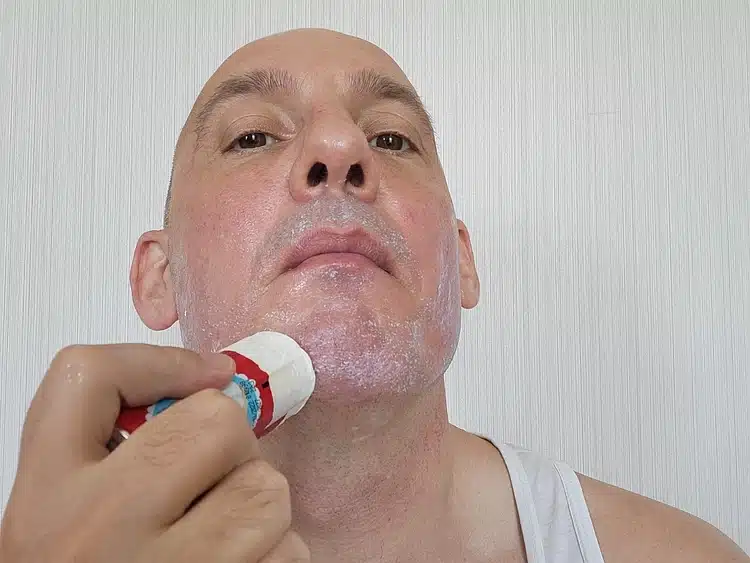
Just to complicate it a little, we can also use shaving soap stick. In this case, the stick of soap can be rubber around the face to add a sufficient amount of lubricant before the brush hits the face.
Step 4) Create The Bowl Lather (skip if face lathering)
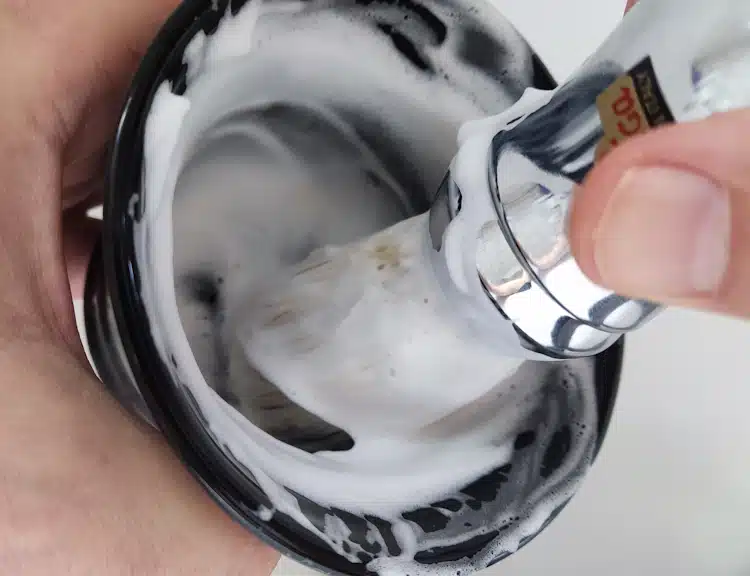
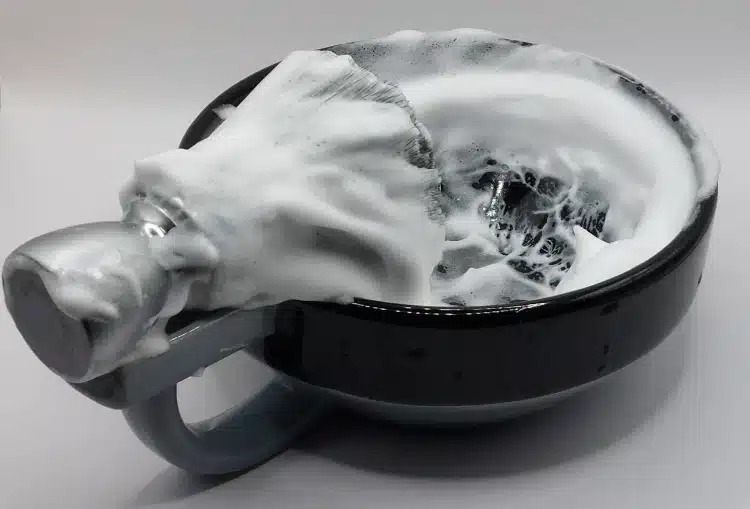
If latherting in the bowl then take the brush to a dish or a mug and start swirling it around. The soap or cream should start building a good and thick lather there. If the lather isn’t building or is too thin, go back for a little more soap or cream, but keep in mind that a little goes a long way.
Make sure to build the lather to a rich point.
You are looking for something about the thickness of whipped cream. If it’s too foamy, like the head of a beer or soda, then keep building and add soap or cream.
Step 5) Application/Lathering
Now, it is time to apply the lather. Bring the brush to your face, and using a slow circular motion, began whipping up a lather everywhere you would like to shave. Make sure to get the bristles into your beard if you have longer hair, but don’t mash it against your face. All it takes is a light touch.
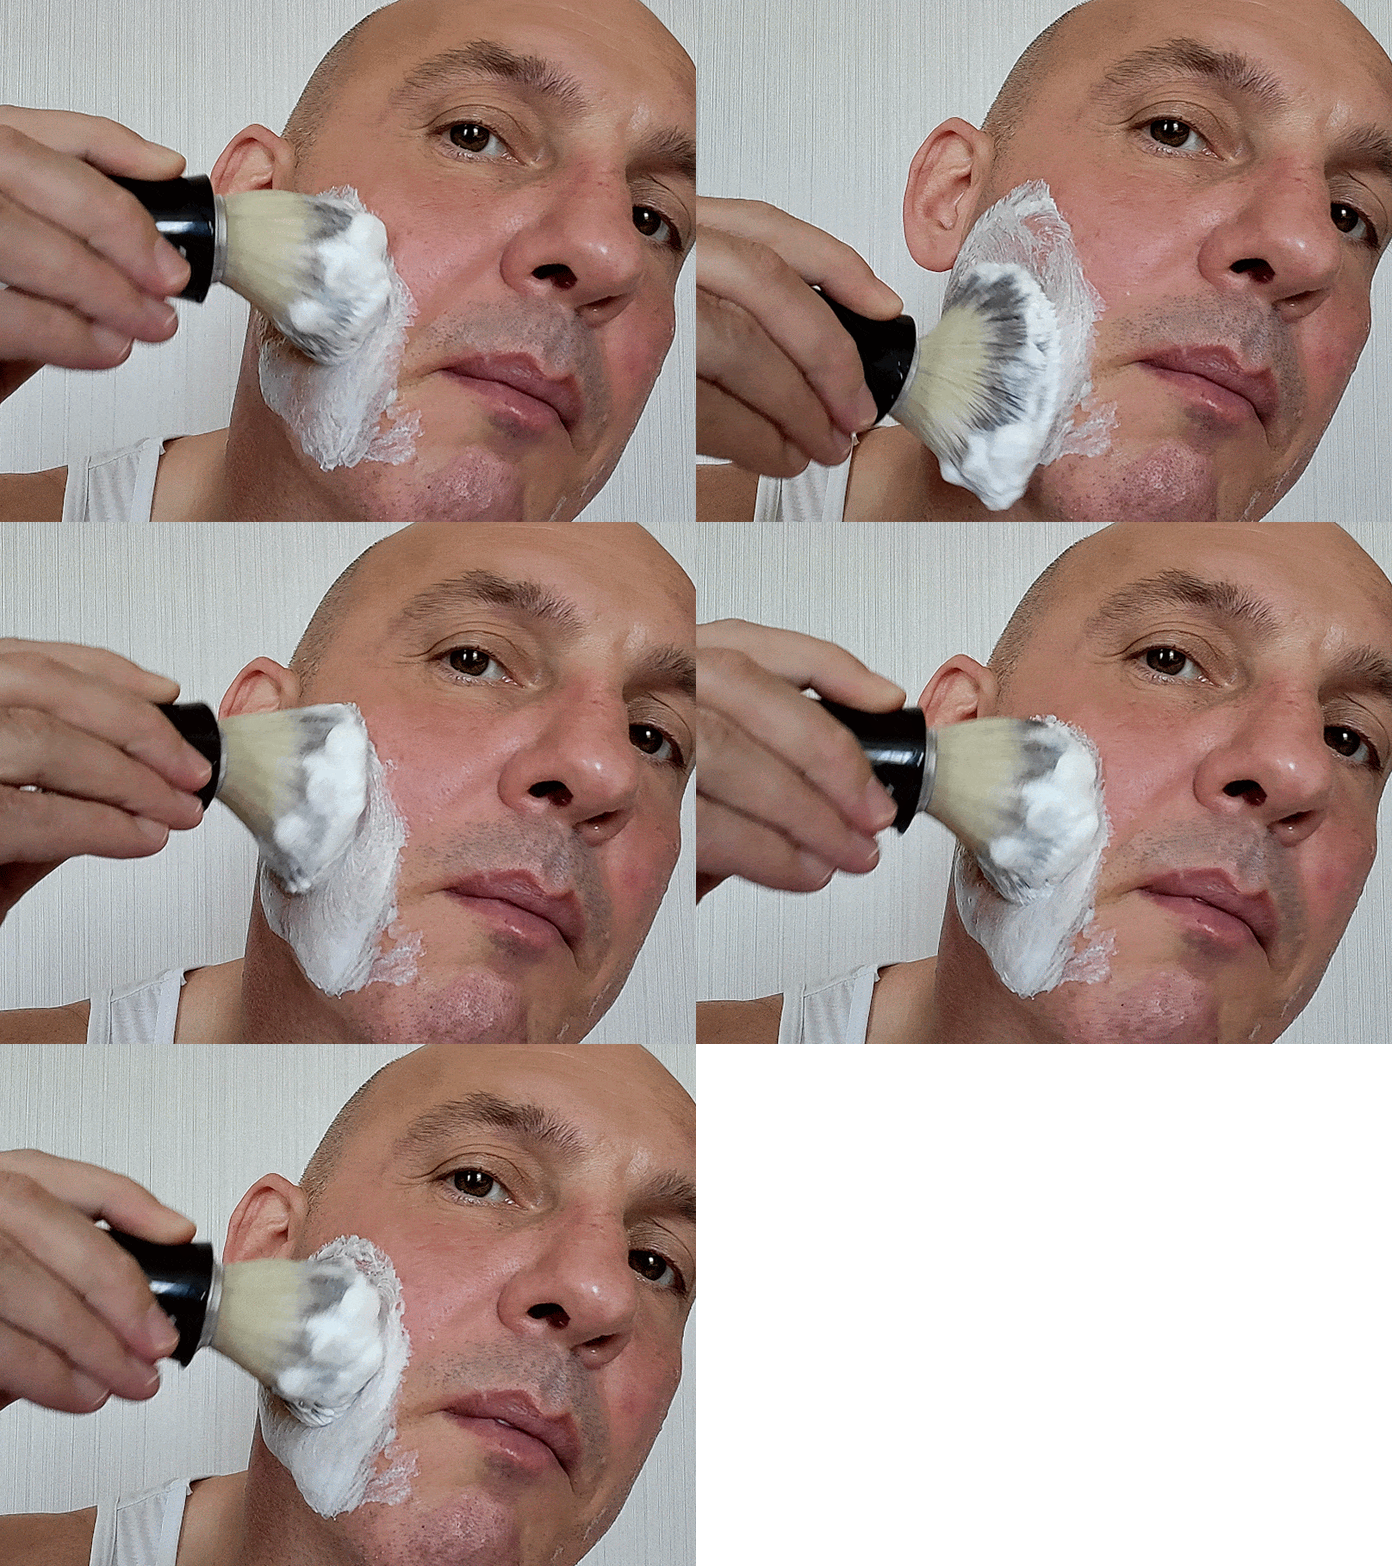
Face lathering will naturally require more circular motions and take a little longer to get the face loaded up enough. While the lather from the bowl is a kind of ready-made lather and is easier to apply.
This lathering helps the lubricant get inside the hair and raise the hair up somewhat while also exfoliating.
Step 6) Rinse and Clean the Brush
Skipping to the post-shave at this point. Run your brush under the water again, rinsing off all the cream or lotion you used. Get as much of it as you can, but don’t try to pull it out or root through the brush to get all the soap. Just gentle water will rinse it out just fine.
Give your brush a gentle squeeze to get out the rest of the water, and shake any extra droplets off. Set the brush on its stand to air dry with the bristles hanging down. Don’t put your brush on its side to dry, as this can cause the bristles against your counter or sink to get matted and deformed.
Keeping the brush away from a damp environment is a good idea to allow the bristles to dry properly.
For more guidance on cleaning, you might want to check out the cleaning a shaving brush and care guide.
Final Thoughts
The trickiest part of all this is getting the lather right. Not enough water and too dry is not good and too wet and foamy is equally not good. A good whipped cream is ideal!
If the lathering of a soap or cream you use is generally too foamy, you might want to consider lathering straight from the puck (soap) or shaving cream tub (or tube) to the face. The opposite is true when the lather is too thick and dry –then lathering from a bowl could be best (you’ll get more foamy).
